handbrake shoes rear pads and disc replacement
Posted: Tue Sep 24, 2013 6:49 pm
hi all,
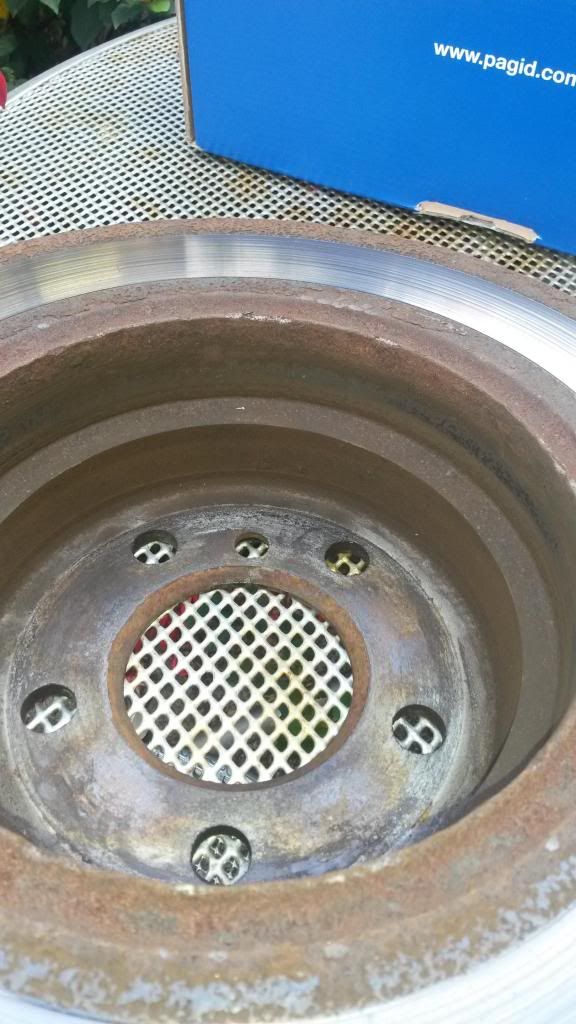
my handbrake went all crap last month all of a sudden really, so i thought i would pop of the rear wheels and manually adjust the handbrake shoes on the rear disc.. oh dear, i was in for a shock! the insides of the disc where the handbrake shoes bind was totally rusted out and the shoes themselves were in a bad state also.
something had to be done!
so, after trawling the internet, i found new pagid discs, pads and shoes from euro car parts for £120 all in.
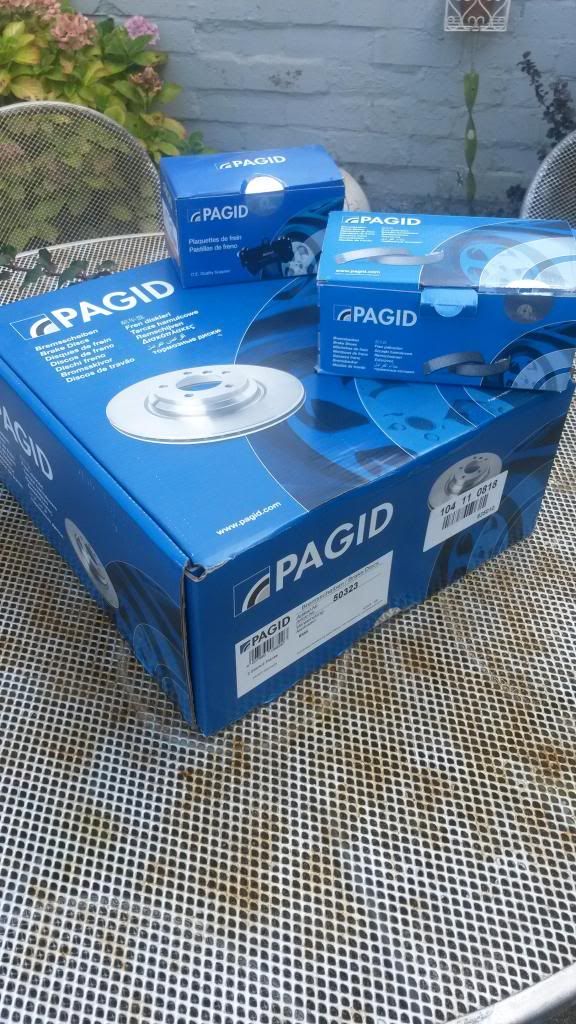
armed with my shiny new parts, i set out replacing the rusty culprits.
i firstly pulled the leather gaiter out and off the handbrake lever. then slackened off the handbrake lever side of the cables right back with an extended 12mm socket after loosening the 10mm locknuts.
the car was wheel chocked and left in neutral with handbrake off.
after jacking the rear of the car one side at a time, with the road wheel removed, first job was to remove the brake callipers. these are held on by 2x 15mm bolts accessed from behind the disc.
with these removed the calliper can be pulled off the disc and cable tied to the metal brake pipe above to hold them out of the way for now without stressing the rubber brake hose.
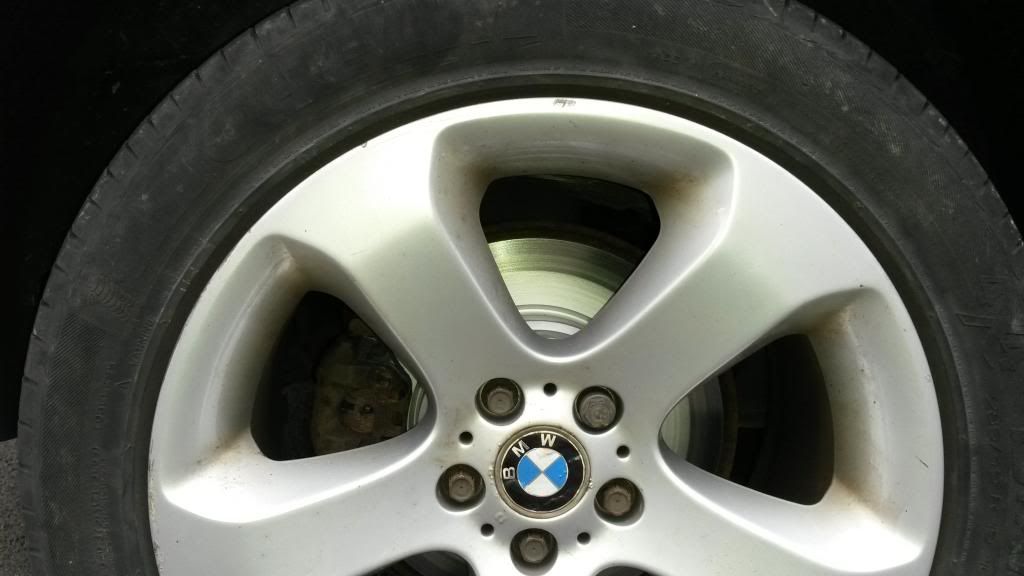
next job was to remove the allen key bolt that holds the disc to the hub at the front. then lift the old disc off. look at the difference between old and new..

next job was to remove the 2 spring retainers that hold the brake shoes in place at top and bottom, this is done with a pair of pliers just push the spring in and give it a quarter turn and pull away.
then the 2 long springs at left and right need to be coaxed off, this was a fiddly job but a screwdriver wedged into the spring helps with leverage. the springs, shoes, adjuster nut and handbrake cable connector cam can then be removed..
now is a good time to give the innards of the hub splash guard a good clean, i just used compressed air to blow the crud away.
next is time for re assembly, taking note of the way everything came apart!!
fitting the long springs is the difficult bit but you will get there eventually.
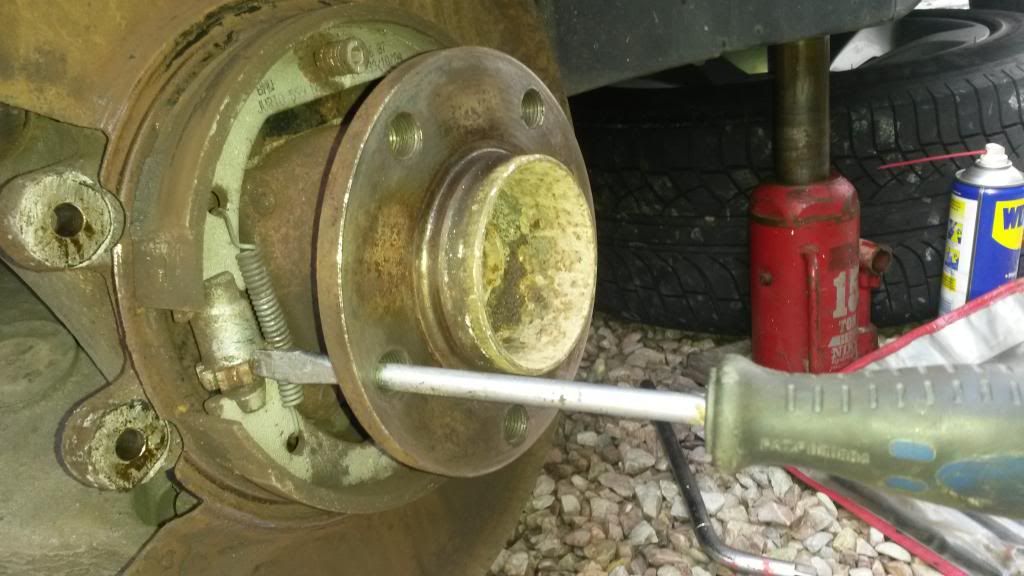
here is a photo of how the shoe adjuster is turned without the disc fitted..
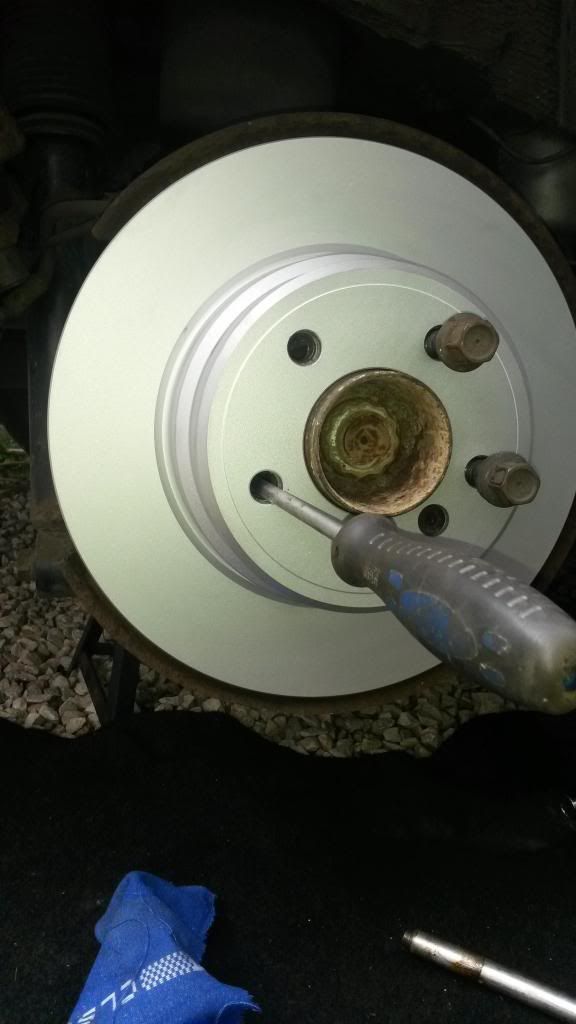
and with disc fitted..
once you have reassembled the shoes and the disc you will need to tighten the shoes by means of the adjuster as in the last photo.
note. to expand the adjuster on drivers side you need to drag the screwdriver blade accross the nut from back of car to front.
on the passenger side it is from front to back..
while doing this it is a good idea to frequently pull the handbrake lever on as hard as possible a few times to keep the shoes centralised in the disc hub.
keep tightening the adjuster until you can feel a drag on the disc as you try to rotate it. at this point the shoes are roughly adjusted correctly and can be backed of a touch by dragging the screwdriver the opposite way a half turn.
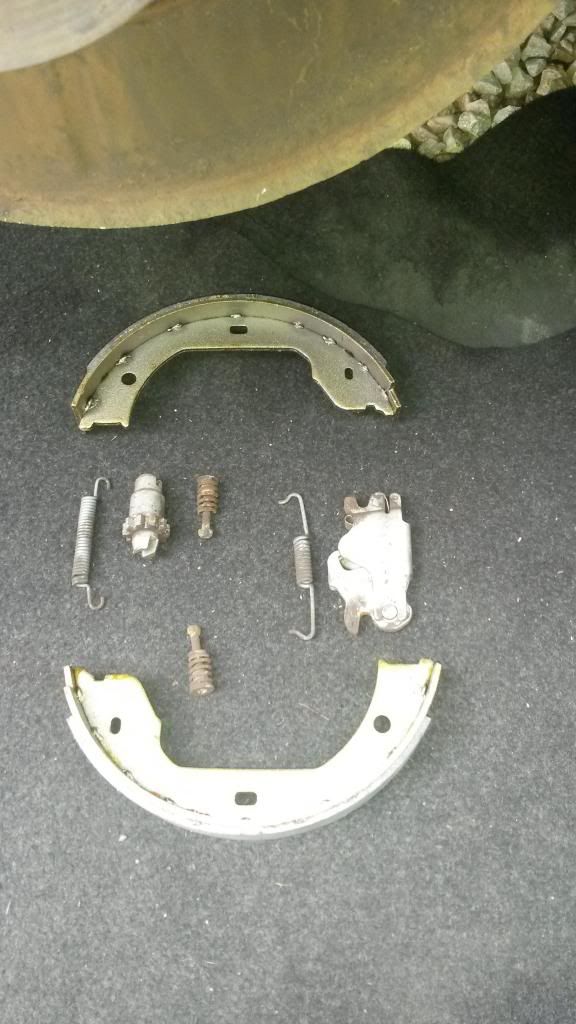
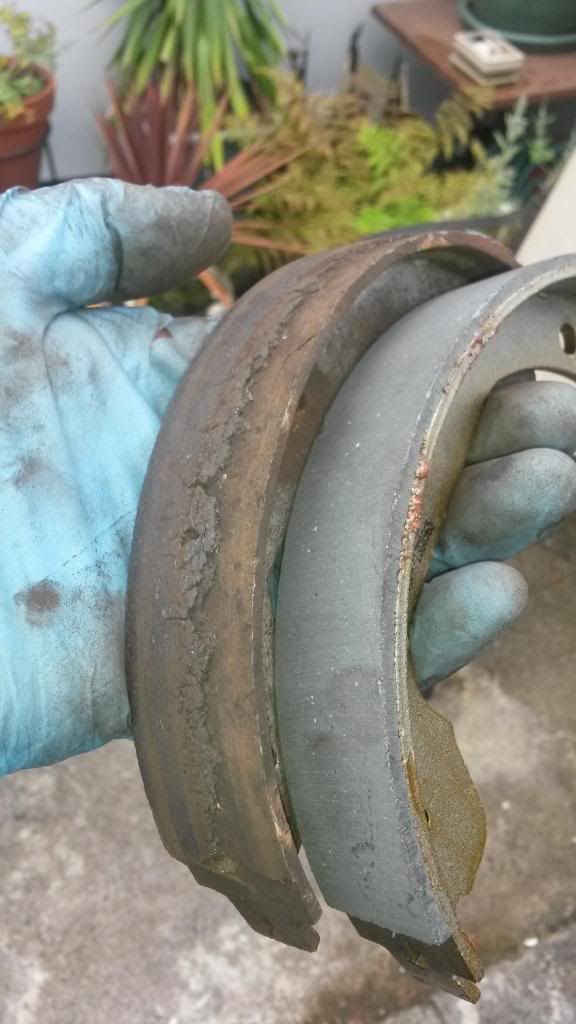
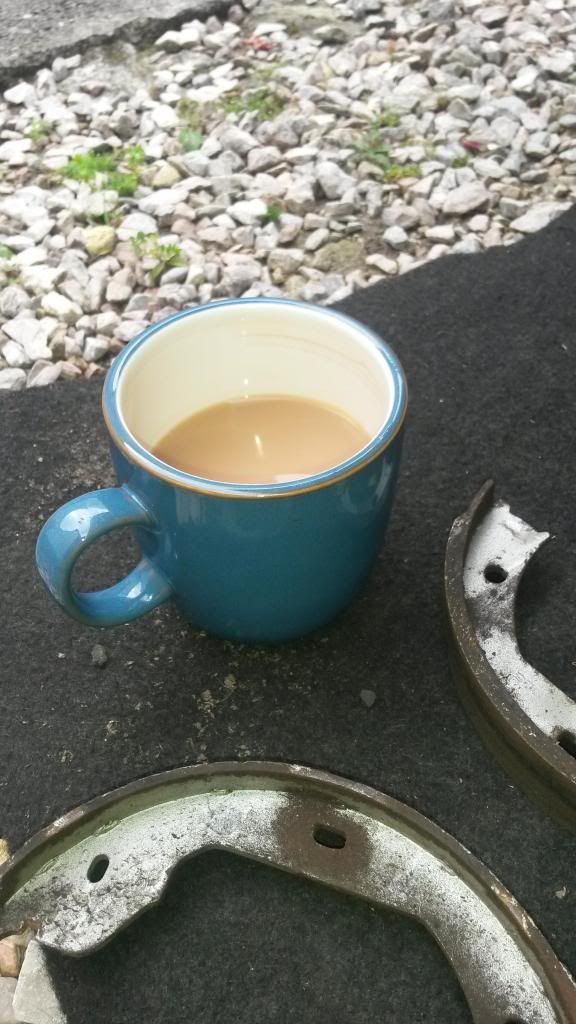
here are my old and new shoes..no wonder my handbrake suddenly died!! :blink:
now its time to change the pads, with the calliper hanging where it is this a 5 minute job.
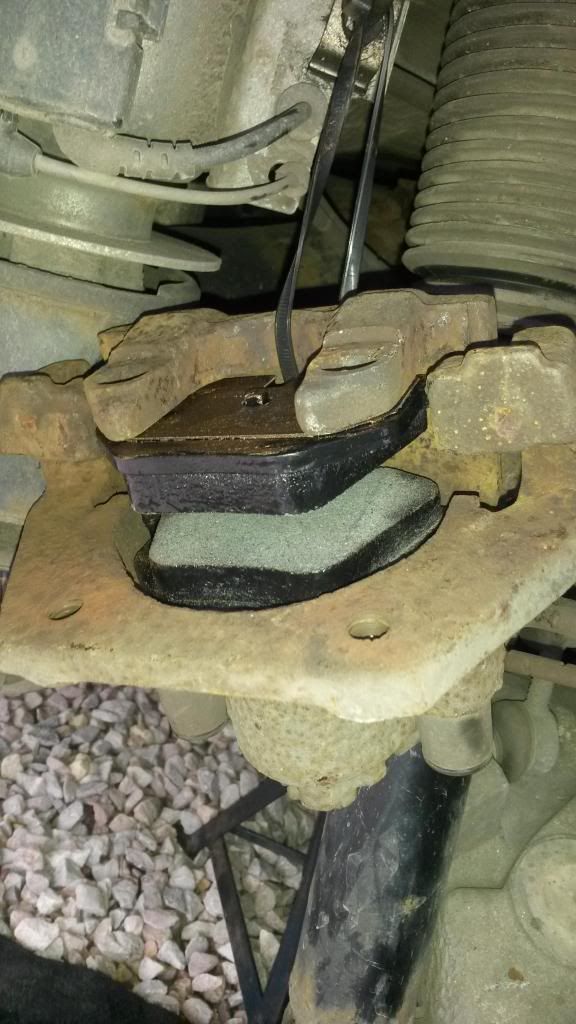
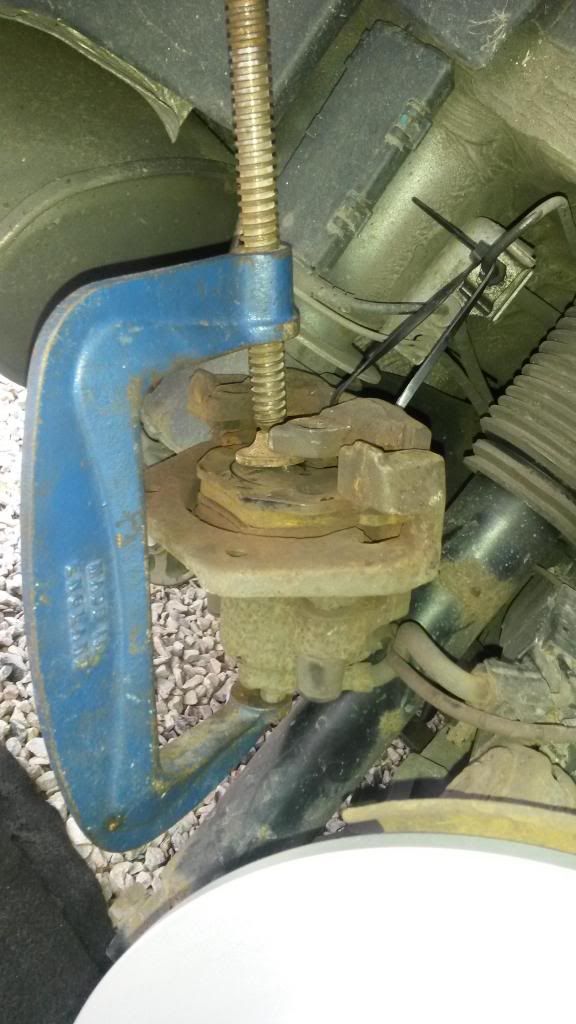
using a g-clamp as illustrated, its possible to push the caliper piston all the way back to accommodate the new pads extra thickness to get them over the disc.
the cap of the brake master cylinder should be unscrewed to help let the brake fluid flow back into the reservoir, be careful that the returning fluid doesn't over fill the reservoir, remove any excess if this is the case.
calliper pistons squeezed all the way back, the old pads can now be popped out by levering with a screwdriver and pulling away. on drivers side calliper, the pad wear sensor will need to be pulled off first.
new pads pop straight in like for like after spreading a little copper slip on the backs to stop brake squeeling and bolt calliper back to hub! easy job! dont forget to pump the brakes with engine running to seat the pads correctly.
here is the most important tool for this job......
with the road wheel back on the hub, but with the car still in the air. its time to tighten back up the handbrake lever end with your extended socket, this is easy if you have a friend to turn the wheel by hand as you tighten the nut. if not you will have to do it by trail and error. i pulled the lever up to the 3rd notch to aid access to the adjuster nut and kept tightening it until the wheel could no longer be turned by hand, at this point release the handbrake to ensure the wheel is free again. when you reach this point i think its fair to say the handbrake is done!
now for the other side in a repeat process. ::)
when all is done and the shoes have bedded in a week or two, i will probably re adjust the handbrake cable or even the shoe adjusters to get the handbrake nice and tight.
i hope this guide of of some help!! let me know if you need any further advice.
cheers folks.
my handbrake went all crap last month all of a sudden really, so i thought i would pop of the rear wheels and manually adjust the handbrake shoes on the rear disc.. oh dear, i was in for a shock! the insides of the disc where the handbrake shoes bind was totally rusted out and the shoes themselves were in a bad state also.

something had to be done!
so, after trawling the internet, i found new pagid discs, pads and shoes from euro car parts for £120 all in.

armed with my shiny new parts, i set out replacing the rusty culprits.
i firstly pulled the leather gaiter out and off the handbrake lever. then slackened off the handbrake lever side of the cables right back with an extended 12mm socket after loosening the 10mm locknuts.
the car was wheel chocked and left in neutral with handbrake off.
after jacking the rear of the car one side at a time, with the road wheel removed, first job was to remove the brake callipers. these are held on by 2x 15mm bolts accessed from behind the disc.
with these removed the calliper can be pulled off the disc and cable tied to the metal brake pipe above to hold them out of the way for now without stressing the rubber brake hose.

next job was to remove the allen key bolt that holds the disc to the hub at the front. then lift the old disc off. look at the difference between old and new..

next job was to remove the 2 spring retainers that hold the brake shoes in place at top and bottom, this is done with a pair of pliers just push the spring in and give it a quarter turn and pull away.
then the 2 long springs at left and right need to be coaxed off, this was a fiddly job but a screwdriver wedged into the spring helps with leverage. the springs, shoes, adjuster nut and handbrake cable connector cam can then be removed..

now is a good time to give the innards of the hub splash guard a good clean, i just used compressed air to blow the crud away.
next is time for re assembly, taking note of the way everything came apart!!
fitting the long springs is the difficult bit but you will get there eventually.
here is a photo of how the shoe adjuster is turned without the disc fitted..

and with disc fitted..

once you have reassembled the shoes and the disc you will need to tighten the shoes by means of the adjuster as in the last photo.
note. to expand the adjuster on drivers side you need to drag the screwdriver blade accross the nut from back of car to front.
on the passenger side it is from front to back..
while doing this it is a good idea to frequently pull the handbrake lever on as hard as possible a few times to keep the shoes centralised in the disc hub.
keep tightening the adjuster until you can feel a drag on the disc as you try to rotate it. at this point the shoes are roughly adjusted correctly and can be backed of a touch by dragging the screwdriver the opposite way a half turn.
here are my old and new shoes..no wonder my handbrake suddenly died!! :blink:

now its time to change the pads, with the calliper hanging where it is this a 5 minute job.
using a g-clamp as illustrated, its possible to push the caliper piston all the way back to accommodate the new pads extra thickness to get them over the disc.

the cap of the brake master cylinder should be unscrewed to help let the brake fluid flow back into the reservoir, be careful that the returning fluid doesn't over fill the reservoir, remove any excess if this is the case.
calliper pistons squeezed all the way back, the old pads can now be popped out by levering with a screwdriver and pulling away. on drivers side calliper, the pad wear sensor will need to be pulled off first.
new pads pop straight in like for like after spreading a little copper slip on the backs to stop brake squeeling and bolt calliper back to hub! easy job! dont forget to pump the brakes with engine running to seat the pads correctly.
here is the most important tool for this job......

with the road wheel back on the hub, but with the car still in the air. its time to tighten back up the handbrake lever end with your extended socket, this is easy if you have a friend to turn the wheel by hand as you tighten the nut. if not you will have to do it by trail and error. i pulled the lever up to the 3rd notch to aid access to the adjuster nut and kept tightening it until the wheel could no longer be turned by hand, at this point release the handbrake to ensure the wheel is free again. when you reach this point i think its fair to say the handbrake is done!
now for the other side in a repeat process. ::)
when all is done and the shoes have bedded in a week or two, i will probably re adjust the handbrake cable or even the shoe adjusters to get the handbrake nice and tight.

i hope this guide of of some help!! let me know if you need any further advice.
cheers folks.